My Cloud - A Generic UI for IoT Cloud Databases
My Cloud is a mobile app [1] that released together with Realtek’s Ameba IoT Development Kit. This application provides functions to obtain and update the data that Ameba has uploaded to the cloud database. In this release, we have chosen Xively Personal, which is commonly used by IoT developers, as our cloud database. In the future release, we will add more cloud-platforms’ support according to our customers’ demand.
Here are some basic instructions (for the detailed information, please check the user guide on our website[2]) :
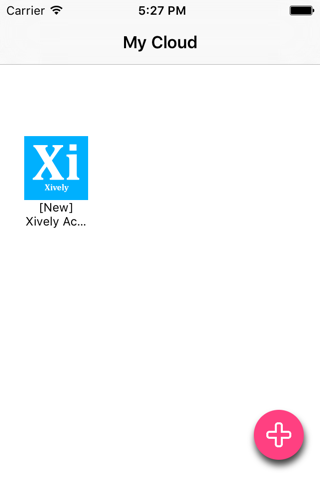
1. Launch the application, press “+” button to add a cloud account
2. Long-press on the account’s icon to remove the account or change its description
3. Press on the account’s icon to login and get cloud-stored data [3]
4. After successfully login, this application will search all the channels under that account, and display their name and current value on the tables if the channel’s name is followed the naming convention described in the user guide
5. If the channels’ name gives the permission to update its value on mobile client, press the value cell (the cell with yellow background colour) on the table, a popup dialog will prompt you to enter the new value.
6. The data on the table will be refreshed every 10 seconds automatically
7. You can also swipe down on the table to refresh the data manually
[1] Video: https://vimeo.com/158607578
[2] http://www.amebaiot.com/en/ameba-arduino-xively-cloud/
[3] The system will generate a default API key which has read/write permission when you create a Xively database, My Cloud will use this API key to read and update Xively database, so please make sure both read and write permissions for that key is turned on.
My Cloud 是一款與瑞昱Ameba物聯網開發板及其SDK一起發售的手機應用[1]。本應用提供了在移動端獲取以及更新Ameba 上傳到雲端數據庫數據資料的功能。在這一次的發佈中,我們選擇了IoT開發者較喜歡使用的Xively Persional雲服務作為我們的雲端數據庫,在後續版本的發布中,我們會根據用戶的需求添加更多雲平臺的支持。
以下是基本操作說明(詳細信息請見我們網站上的實例指南[2]):
1. 啟動應用,點擊“+”號鍵添加雲賬戶
2. 長按賬戶圖標可以刪除賬戶或者修改賬戶說明
3. 點擊賬戶圖標,登陸並獲取雲端數據 [3]
4. 成功登陸後,本應用將會把該賬戶下所有數據庫中的(按照開發者指南中所設定的命名方式的)channel的名稱和讀書繪制成表
5. 如果該channel的命名允許手機端更改數據,點擊表格上的數值(背景為黃色的格子)則會彈出對話框讓您鍵入新的數值。
6. 表格數據會每隔10秒鐘自動刷新一次
7. 您也可以按住表格並向下拉,從而手動刷新數據
[1] 視屏:https://vimeo.com/158607578
[2] http://www.amebaiot.com/ameba-arduino-xively-cloud/
[3] 在創建Xively數據庫時,系統會自動生成一把有讀寫權限的API Key,本應用會使用該API Key讀寫Xively上的數據,所以請確認此Key的讀寫權限均被開啟。


